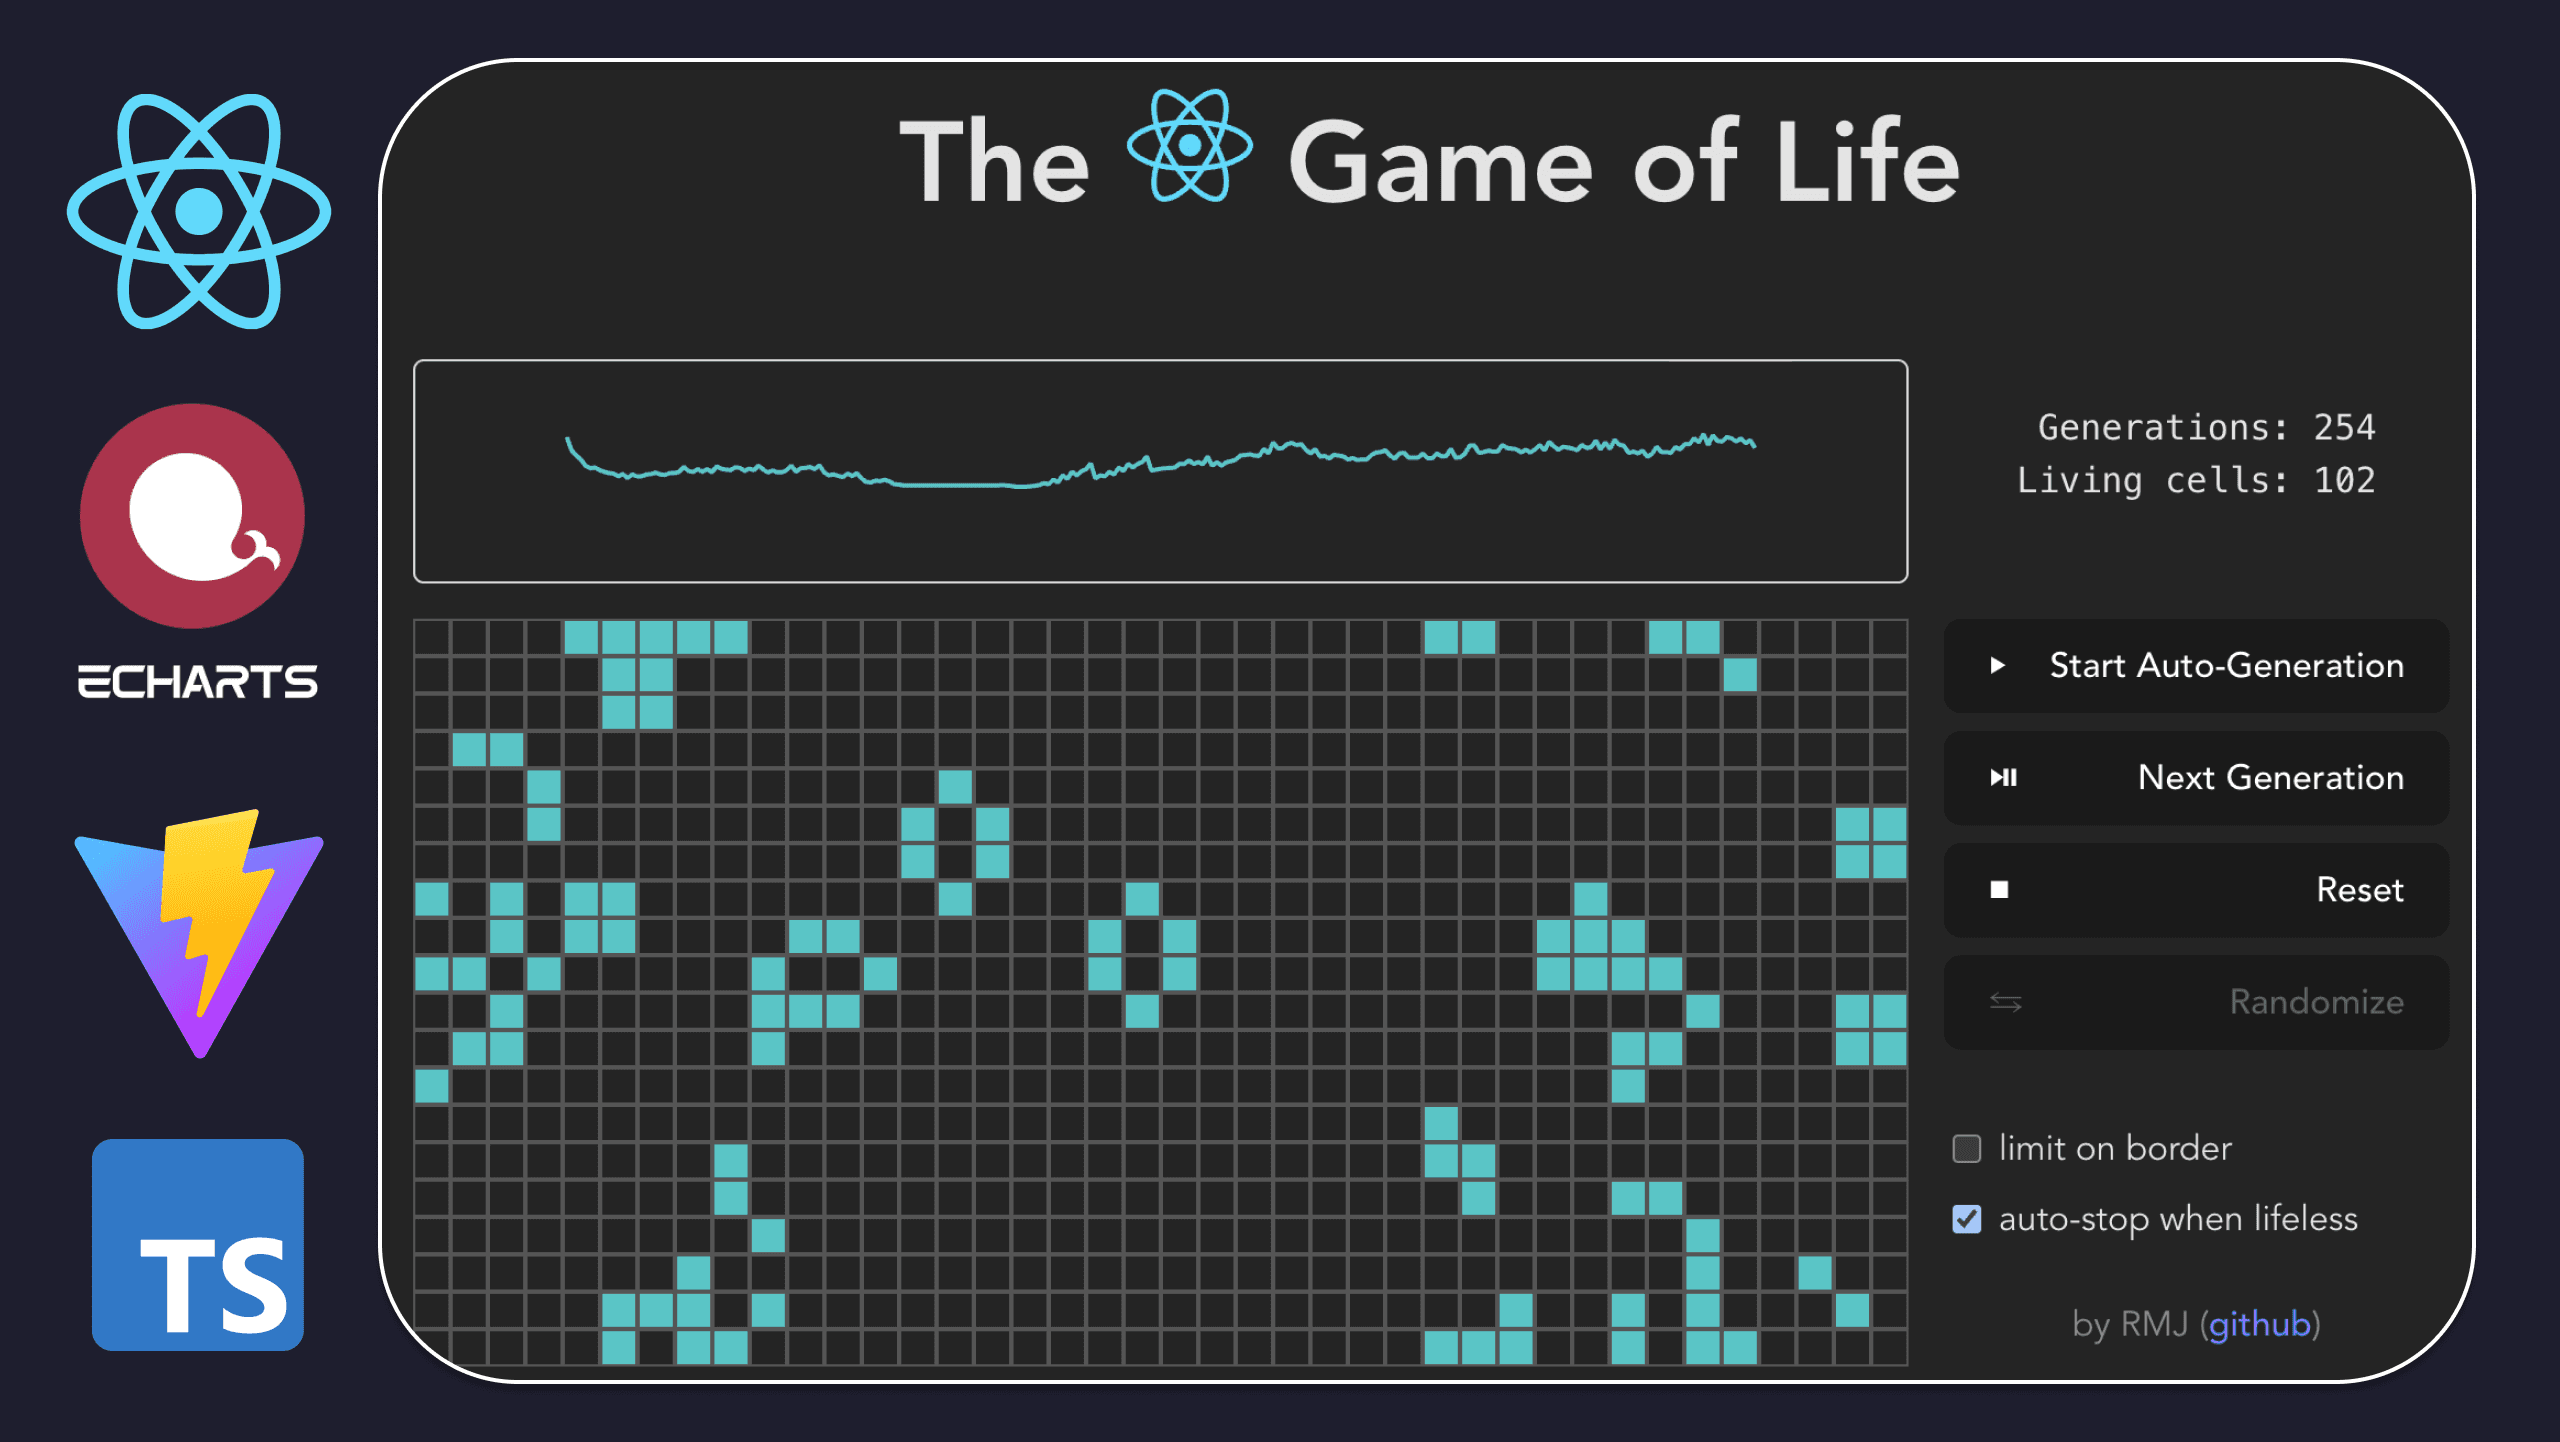
Creating Conway's Game of Life with React and TypeScript

Join me as I revisit a ReactJS and TypeScript project I created two years ago: an interactive version of Conway's Game of Life. This journey started as a personal challenge where I wrote the entire code off the top of my head without any refactoring. In this blog post, I'll walk you through the technical aspects of the project and reflect on the growth I've experienced as a developer since then. Let's dive into the fascinating world of cellular automata and see how this project evolved.
Introduction
Welcome to my (not so) latest creation: a ReactJS application that brings Conway's Game of Life to your screen! This project, bootstrapped with Vite and written in TypeScript, was originally created about two years ago as a personal challenge. My goal was to write it off the top of my head without refactoring anything later. This led to some peculiar choices, such as the usage of Ramda, which I initially thought would be useful for a different implementation, and well, I regret.
I've opted to keep the code "as is," even though I would most certainly write it differently today. This is a good indicator of a programmer's evolution: looking at past code and thinking, "What was I thinking? This should be completely different." For our 'fun,' let's see what is in this code.
Motivation
The Game of Life is a zero-player game developed by John Conway in 1970. It consists of a grid of cells that can be either alive or dead. The game evolves through generations based on simple rules: a living cell with fewer than two or more than three living neighbors dies, while a dead cell with exactly three living neighbors becomes alive. Despite these simple rules, the Game of Life produces remarkably complex and beautiful patterns.
This project demonstrates how React's component-based architecture and TypeScript's type safety can be leveraged to build a dynamic and visually appealing application. Creating a modern, interactive version using these technologies was both a personal challenge and an opportunity to provide a fun and educational tool for others.
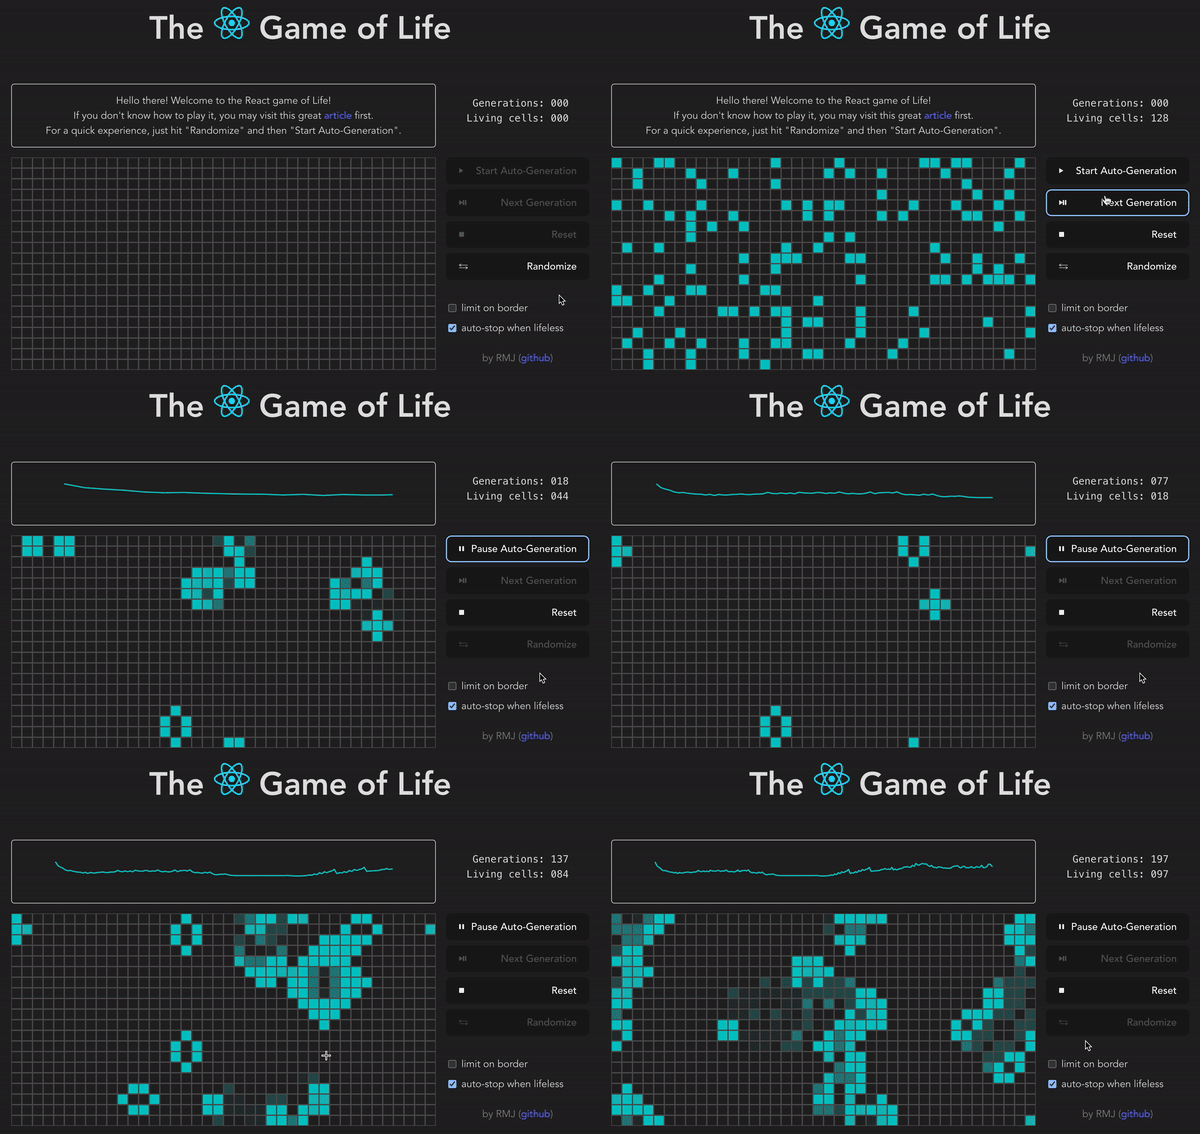
A quick preview of the project running:

Technical Aspects
Here's a breakdown of the technical aspects of the project:
Setup
The project is bootstrapped with Vite, which provides a fast and lean development environment. We use TypeScript for type safety and improved developer experience. Key dependencies include:
• React: For building the user interface.
• echarts-for-react: For visualizing the number of living cells over generations.
• Ramda: For functional programming utilities.
Components and State Management
The application consists of the following main components:
• App Component: The root component managing the overall state and rendering the UI.
• LifeGrid: A 2D array representing the grid of cells, where each cell can be alive or dead.
• Controls: Buttons and checkboxes for user interactions, such as starting/stopping the simulation, randomizing the grid, and toggling border constraints.
We use React's useState and useEffect hooks to manage state and
lifecycle events, ensuring a responsive and interactive experience.
Game Logic
The core logic of the Game of Life involves:
• Generating the Grid: Creating a grid with a specified number of rows and columns, optionally randomizing the initial state of cells.
• Counting Neighbors: Determining the number of alive neighbors for each cell, considering border constraints.
• Updating the Grid: Applying the rules of the Game of Life to update the state of each cell based on its neighbors.
Generating the Grid
const generateLifeGrid = ({
  lines = DEFAULT_LINES,
  columns = DEFAULT_COLS,
  randomize = false,
}: ILifeGridProps): LifeGrid =>
  Array.from(Array(lines).fill(null), () => Array(columns).fill(null)).map((line, lineIndex) =>
    line.map((_col, colIndex) =>
      generateLifeCell(
        lineIndex,
        colIndex,
        randomize ? Math.random() < DEFAULT_RANDOM_PROBABILITY_OF_LIFE : false,
      ),
    ),
  );
Counting Neighbors
const countCellNeighbors = (
  line: number,
  col: number,
  lifeGrid: LifeGrid,
  isBorderLimited: boolean,
): number => {
  const lastLine = lifeGrid.length - 1;
  const lastCol = lifeGrid[0].length - 1;

  return (
    isBorderLimited
      ? [
          line !== 0 ? pathOr(false, [line - 1, col - 1, "isAlive"], lifeGrid) : false,
          line !== 0 ? pathOr(false, [line - 1, col, "isAlive"], lifeGrid) : false,
          line !== 0 ? pathOr(false, [line - 1, col + 1, "isAlive"], lifeGrid) : false,
          col !== 0 ? pathOr(false, [line, col - 1, "isAlive"], lifeGrid) : false,
          pathOr(false, [line, col + 1, "isAlive"], lifeGrid),
          col !== 0 ? pathOr(false, [line + 1, col - 1, "isAlive"], lifeGrid) : false,
          pathOr(false, [line + 1, col, "isAlive"], lifeGrid),
          pathOr(false, [line + 1, col + 1, "isAlive"], lifeGrid),
        ]
      : [
          pathOr(false, [line > 0 ? line - 1 : lastLine, col - 1, "isAlive"], lifeGrid),
          pathOr(false, [line > 0 ? line - 1 : lastLine, col, "isAlive"], lifeGrid),
          pathOr(
            false,
            [line > 0 ? line - 1 : lastLine, col < lastCol ? col + 1 : 0, "isAlive"],
            lifeGrid,
          ),
          pathOr(false, [line, col > 0 ? col - 1 : lastCol, "isAlive"], lifeGrid),
          pathOr(false, [line, col < lastCol ? col + 1 : 0, "isAlive"], lifeGrid),
          pathOr(
            false,
            [line < lastLine ? line + 1 : 0, col > 0 ? col - 1 : lastCol, "isAlive"],
            lifeGrid,
          ),
          pathOr(false, [line < lastLine ? line + 1 : 0, col, "isAlive"], lifeGrid),
          pathOr(
            false,
            [line < lastLine ? line + 1 : 0, col < lastCol ? col + 1 : 0, "isAlive"],
            lifeGrid,
          ),
        ]
  ).filter((x) => x).length;
};
Upgrading the Grid
const updateLifeGrid = (lifeGrid: LifeGrid, isBorderLimited: boolean): LifeGrid =>
  lifeGrid.map((line, lineIndex) =>
    line.map((cell, colIndex) =>
      generateLifeCell(
        lineIndex,
        colIndex,
        generateFutureAliviness(
          cell.isAlive,
          countCellNeighbors(lineIndex, colIndex, lifeGrid, isBorderLimited),
        ),
      ),
    ),
  );
Evolution Visualization
We use echarts-for-react to display a line chart tracking the number of living cells over generations. This provides a visual representation of the simulation's progress and helps users understand the dynamics of the cellular automaton.
const initialChartOptions = {
  xAxis: {
    type: "category",
    show: false,
    color: "red",
  },
  yAxis: {
    type: "value",
    show: false,
  },
  tooltip: {
    axisPointer: {
      type: "cross",
      snap: true,
    },
  },
  series: [
    {
      data: [0],
      showSymbol: false,
      type: "line",
      lineStyle: { color: "rgba(0, 200, 200, 1)" },
    },
  ],
};
Conclusion
Creating Conway's Game of Life using React and TypeScript was an exciting and educational journey. The project demonstrates how modern web development tools can be used to create interactive and visually appealing applications quite quickly. I hope this project inspires you to explore the fascinating world of cellular automata and build your own creations.
Also, revisiting old code can be a valuable exercise for any developer. Looking back at this project, I see many areas where I would take a different approach today. This reflection highlights my growth and development as a programmer. It's a good sign when you can look at your past work and think, "What was I thinking? This should be completely different." It means you are continually learning and improving.
Feel free to check out the source code on GitHub for more details and to contribute to the project.